
Hardware tips can transform a sluggish computer into a fast, reliable machine. Many users focus only on software fixes when their systems slow down. They overlook the physical components that actually run everything. A few simple hardware upgrades and maintenance habits can extend a computer’s lifespan by years. This guide covers practical hardware tips that anyone can apply. From cleaning dust buildup to upgrading key components, these strategies deliver real performance gains without requiring expert knowledge.
Table of Contents
ToggleKey Takeaways
- Clean your computer every 3–6 months to prevent dust buildup, which causes overheating and slower performance.
- Upgrading to 16GB of RAM offers one of the best performance-per-dollar improvements for multitasking.
- Replacing a traditional hard drive with an SSD can reduce boot times from minutes to seconds.
- Monitor system temperatures regularly using free tools like HWMonitor to catch cooling problems before they damage components.
- Good cable management improves airflow, keeps your system cooler, and makes future upgrades easier.
- These practical hardware tips can extend your computer’s lifespan by years without requiring expert knowledge.
Keep Your Hardware Clean and Dust-Free
Dust is the silent killer of computer performance. It accumulates inside cases, coats fans, and blocks airflow. Over time, this buildup forces components to work harder and run hotter. The result? Slower speeds, random shutdowns, and shortened hardware life.
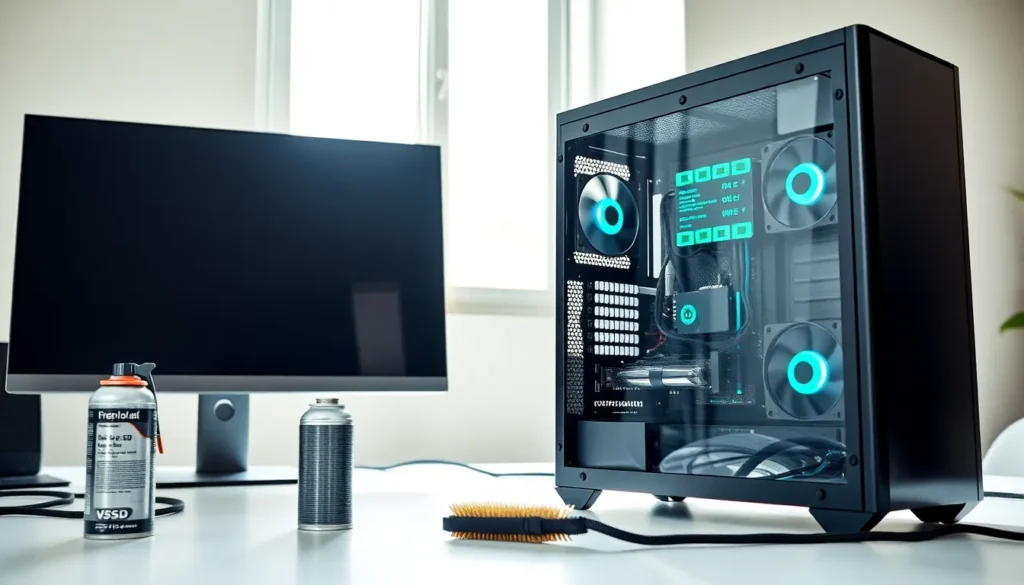
Cleaning a computer every three to six months prevents these problems. Users should power down the system and unplug all cables before starting. Compressed air cans work well for blowing dust out of fan blades and heatsinks. A soft brush helps remove stubborn buildup from hard-to-reach areas.
Pay special attention to these spots:
- CPU cooler and heatsink – Dust here causes overheating fast
- Graphics card fans – Clogged fans lead to throttling during games or video editing
- Power supply vents – Blocked vents can cause the PSU to fail
- Case intake and exhaust fans – These control all airflow in the system
For laptop users, dust buildup happens faster due to smaller vents. A can of compressed air aimed at the exhaust ports clears most debris. Some laptops allow bottom panel removal for deeper cleaning.
This hardware tip costs almost nothing but delivers noticeable results. A clean system runs cooler, quieter, and faster.
Upgrade Your RAM for Better Multitasking
RAM (Random Access Memory) determines how many programs a computer can handle at once. When RAM fills up, the system uses the hard drive as temporary memory. This swap process slows everything down dramatically.
Most computers ship with 8GB of RAM. That amount worked fine five years ago. Today’s browsers, apps, and operating systems demand more. Chrome alone can consume 4GB with a dozen tabs open.
Upgrading to 16GB of RAM helps most users immediately. Power users who edit video, run virtual machines, or game while streaming should consider 32GB. The upgrade process takes about 15 minutes on desktop computers.
Before buying RAM, users need to check:
- Motherboard compatibility – Check the maximum supported RAM and slot count
- RAM type – DDR4 and DDR5 are not interchangeable
- Speed rating – Match or exceed existing RAM speeds
- Available slots – Some systems have only two slots
This hardware tip offers one of the best performance-per-dollar ratios. RAM prices have dropped significantly in recent years. A 16GB kit costs between $40 and $80 for most systems.
Laptop users should verify their RAM is upgradeable. Some modern laptops solder RAM directly to the motherboard. Check the manufacturer’s specifications before purchasing.
Switch to a Solid State Drive
Replacing a traditional hard drive with a solid state drive (SSD) delivers the most dramatic speed improvement possible. Boot times drop from minutes to seconds. Applications launch instantly. File transfers finish in a fraction of the time.
Traditional hard drives use spinning platters and mechanical read heads. These moving parts limit speed and create failure points. SSDs store data on flash memory chips with no moving parts. They access data almost instantly.
The numbers tell the story clearly:
| Drive Type | Average Read Speed | Boot Time (Windows) |
|---|---|---|
| HDD (7200 RPM) | 80-160 MB/s | 45-90 seconds |
| SATA SSD | 500-550 MB/s | 15-25 seconds |
| NVMe SSD | 3,000-7,000 MB/s | 8-15 seconds |
NVMe SSDs connect directly to the motherboard and offer the fastest speeds. SATA SSDs use traditional drive cables but still outperform hard drives by 5x or more.
Cloning software makes migration easy. Users can copy their entire existing drive to a new SSD without reinstalling anything. Samsung, Crucial, and Western Digital all provide free cloning tools with their drives.
This hardware tip transforms old computers into responsive machines. A five-year-old laptop with an SSD often feels faster than a new budget computer with a hard drive.
Monitor Your System Temperatures
Heat damages computer components over time. Processors and graphics cards throttle their speeds when temperatures climb too high. Chronic overheating shortens hardware lifespan and causes instability.
Monitoring software provides real-time temperature data. Popular free options include HWMonitor, Core Temp, and Open Hardware Monitor. These programs display CPU, GPU, and drive temperatures at a glance.
Safe temperature ranges vary by component:
- CPU idle – 30-45°C (86-113°F)
- CPU under load – 60-80°C (140-176°F)
- GPU idle – 30-50°C (86-122°F)
- GPU under load – 65-85°C (149-185°F)
Temperatures above these ranges signal a problem. Common causes include dust buildup, failed fans, dried thermal paste, or poor case airflow.
Thermal paste sits between processors and their coolers. It transfers heat away from the chip. This paste dries out after three to five years and loses effectiveness. Replacing thermal paste can drop temperatures by 10-20°C.
Users who notice high temperatures should first clean their system. If temperatures remain high, they should check that all fans spin properly. Replacing thermal paste comes next if cleaning doesn’t help.
This hardware tip prevents expensive damage. Catching cooling problems early saves CPUs and graphics cards from premature failure.
Maintain Proper Cable Management
Messy cables inside a computer case restrict airflow. They trap heat around components and make maintenance harder. Good cable management improves cooling and makes future upgrades easier.
Modern cases include cable routing channels behind the motherboard tray. Users should run power cables and data cables through these hidden paths. Only the necessary cable length should appear in the main compartment.
Key cable management hardware tips:
- Use velcro straps or zip ties to bundle cables together
- Route cables along case edges away from fans and airflow paths
- Hide excess cable length behind the motherboard tray
- Use shorter cables when possible (modular power supplies help here)
- Leave slack near connections to avoid strain on ports
Modular power supplies allow users to connect only the cables they need. This reduces clutter significantly compared to non-modular units with permanent cables.
External cable management matters too. Tangled cables behind a desk collect dust and create tripping hazards. Cable trays, clips, and sleeves keep everything organized.
This hardware tip takes time but pays off with every future maintenance session. A well-organized system stays cooler and remains easier to work on for years.